

More on the building process after the break:
I needed to drill an inch sized hole; however, the inch sized drill bits require a half inch chuck. I wasn't able to find any half inch chuck drills around MITERS or in ToolComm at East Campus (only 3/8). The other option was to use a spade bit, but I couldn't find any of those either. So, I tried making an adapter using the milling chuck.

I found a bolt with the same threads as the threads on the milling chuck. I cut off the bolt head using the parting tool on the lathe. Then, I faced it down to a diameter slightly smaller than 3/8".

The threads tightened into the milling chuck, which could hold the 1" drill bit, and the drill tightened on the adapter piece. I learned later that this is a bad idea. The size of the drill bit and its corresponding chuck size give a sense for how big the drill should be (how much torque is required to use the specific drill bit most efficiently). Using a small drill with an over-sized drill bit can lead to big problems.

Longest drill I have ever seen. Quite ridiculous :P

After a lot of noise and some bad smells, I got a hole through the left 4 x 4 and a hole half way through the right 4 x 4.
Now for securing the pull-up pipe once in the hole.

I used the end mill to machine an aluminum rectangle to screw into the side of the 4 x 4 piece of wood. This will keep the pull up bar tight against the partially drilled hole in the opposite 4 x 4.
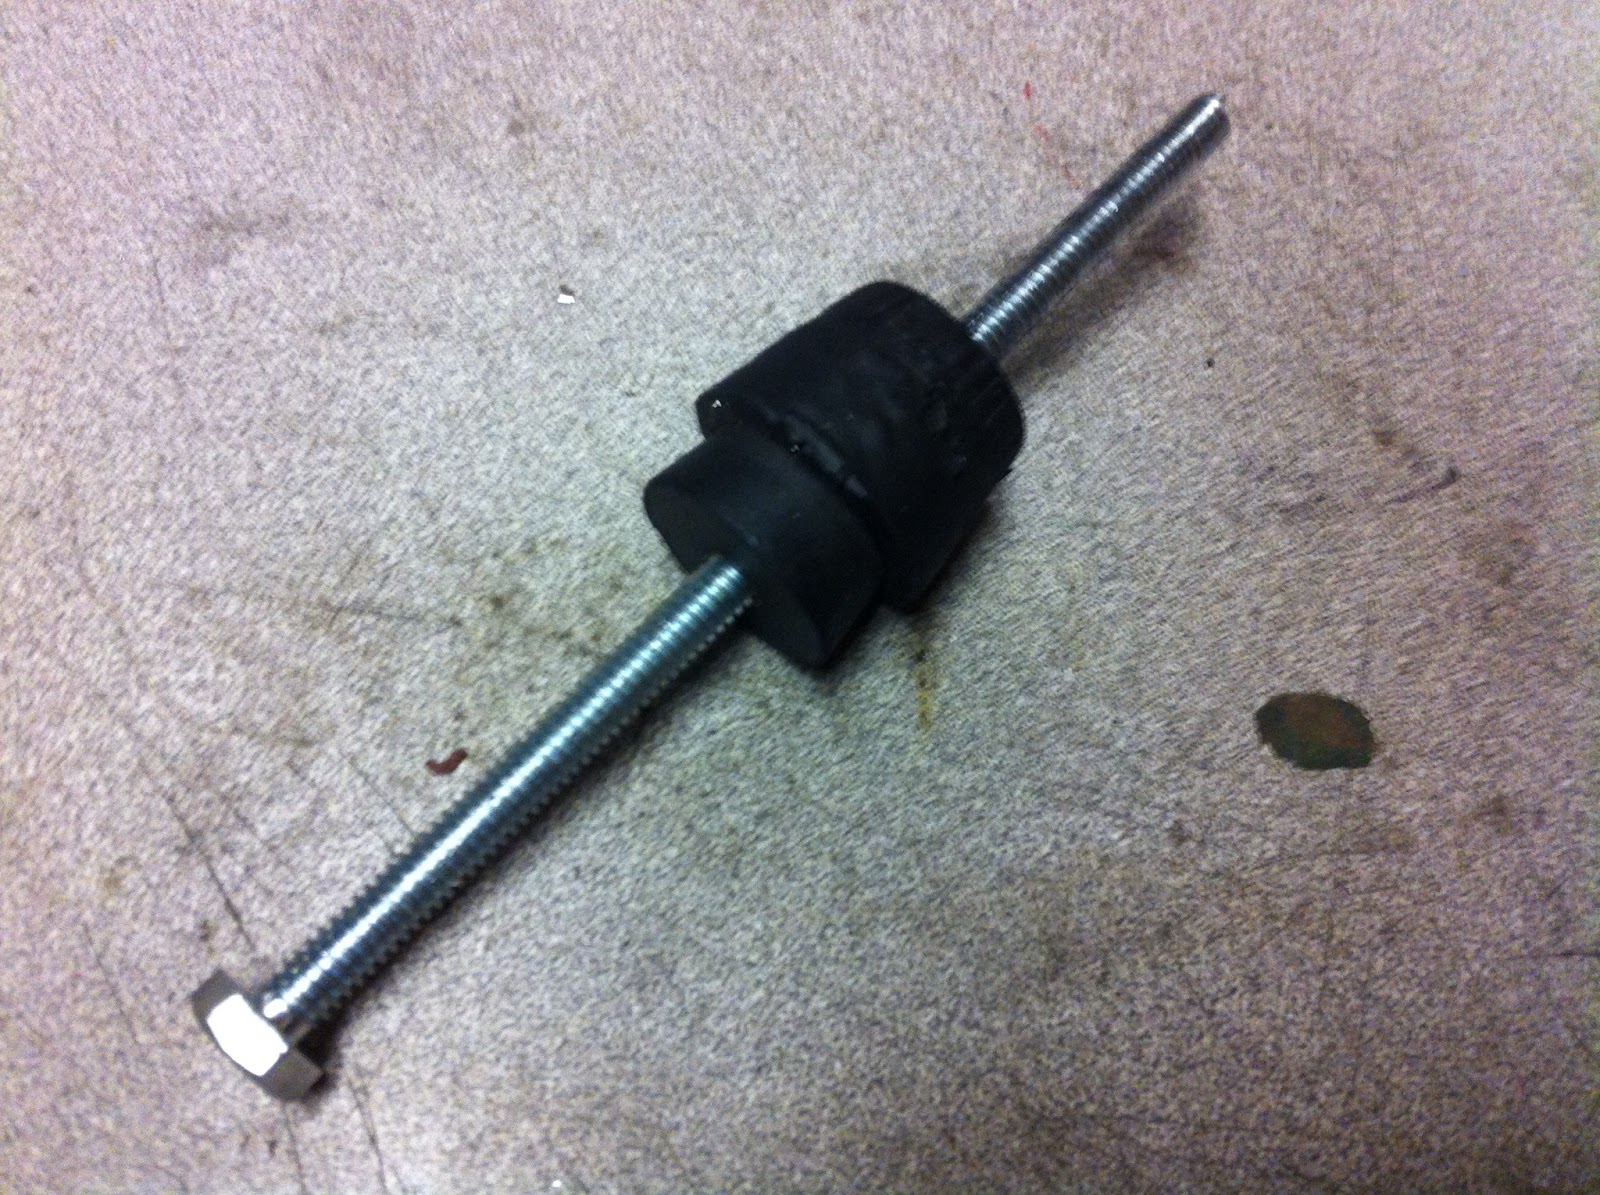
Conveniently, I found some rubber stoppers on the workbench at MITERS. I threaded them on to the bolt so they can keep a tight seal on the pull-up pipe (when I tighten the bolt to the machine aluminum rectangle).

Here is the complete mini-assembly for keeping the pull-up pipe in place and from rotating.

All it took was screwing in the stopper assembly to the left 4 x 4.


Ready to exercise.
No comments:
Post a Comment