

Before heading up to Alaska to film the Sun up above the Arctic Circle, I made a device to slowly move the camera in pitch and yaw using some of Joseph's stepper motors and scrap metal around CSAIL.
First press fit... ever.

Because I didn't have an abundant amount of scrap rectangular stock, I used a scrap piece of metal to test the hole size to get the press fit right.


To press the bearing in the rectangular stock, I used another smaller square tube as support. Otherwise, the force from the vice would just crush the piece.

I found a ridiculously large thrust bearing in MITER's drawer of "Big Bearings". It could probably support loads upwards of hundreds of pounds, but I thought it would be pretty funny to use on a small camera gantry.


It was a bit too large to press fit into the thrust bearing, but once I started I couldn't really stop.

The radial bearing press fitted into the body, the aluminum coupling press fitted onto the radial bearing, the thrust bearing press fitted onto the aluminum coupling... So many press fits!


Ideally, the camera lens would lie on the axis of pitch rotation. I wasn't pleased with the designs I had sketched for this orientation. The two main factors that pushed me over to an offset axis design were: the sun is so far away that the distance between my axis of rotation and the lens is negligible, and not all camera's are the same.

I designed some side supports in SolidWorks and cut them out on the water jet.


That was probably the fastest part I've ever water jetted.


Drilled holes for the stepper motors.

I used some of CSAIL's tiny 4-40 screws to hold it all together.

I consolidated space with the stepper motors so I could put the motor controllers on the other half.

To be able to see the motor controller indicator LEDs, I milled a diagonal on the base.


I ended up opening up the bottom hole so the pan/yaw stepper motor axle could slide in.
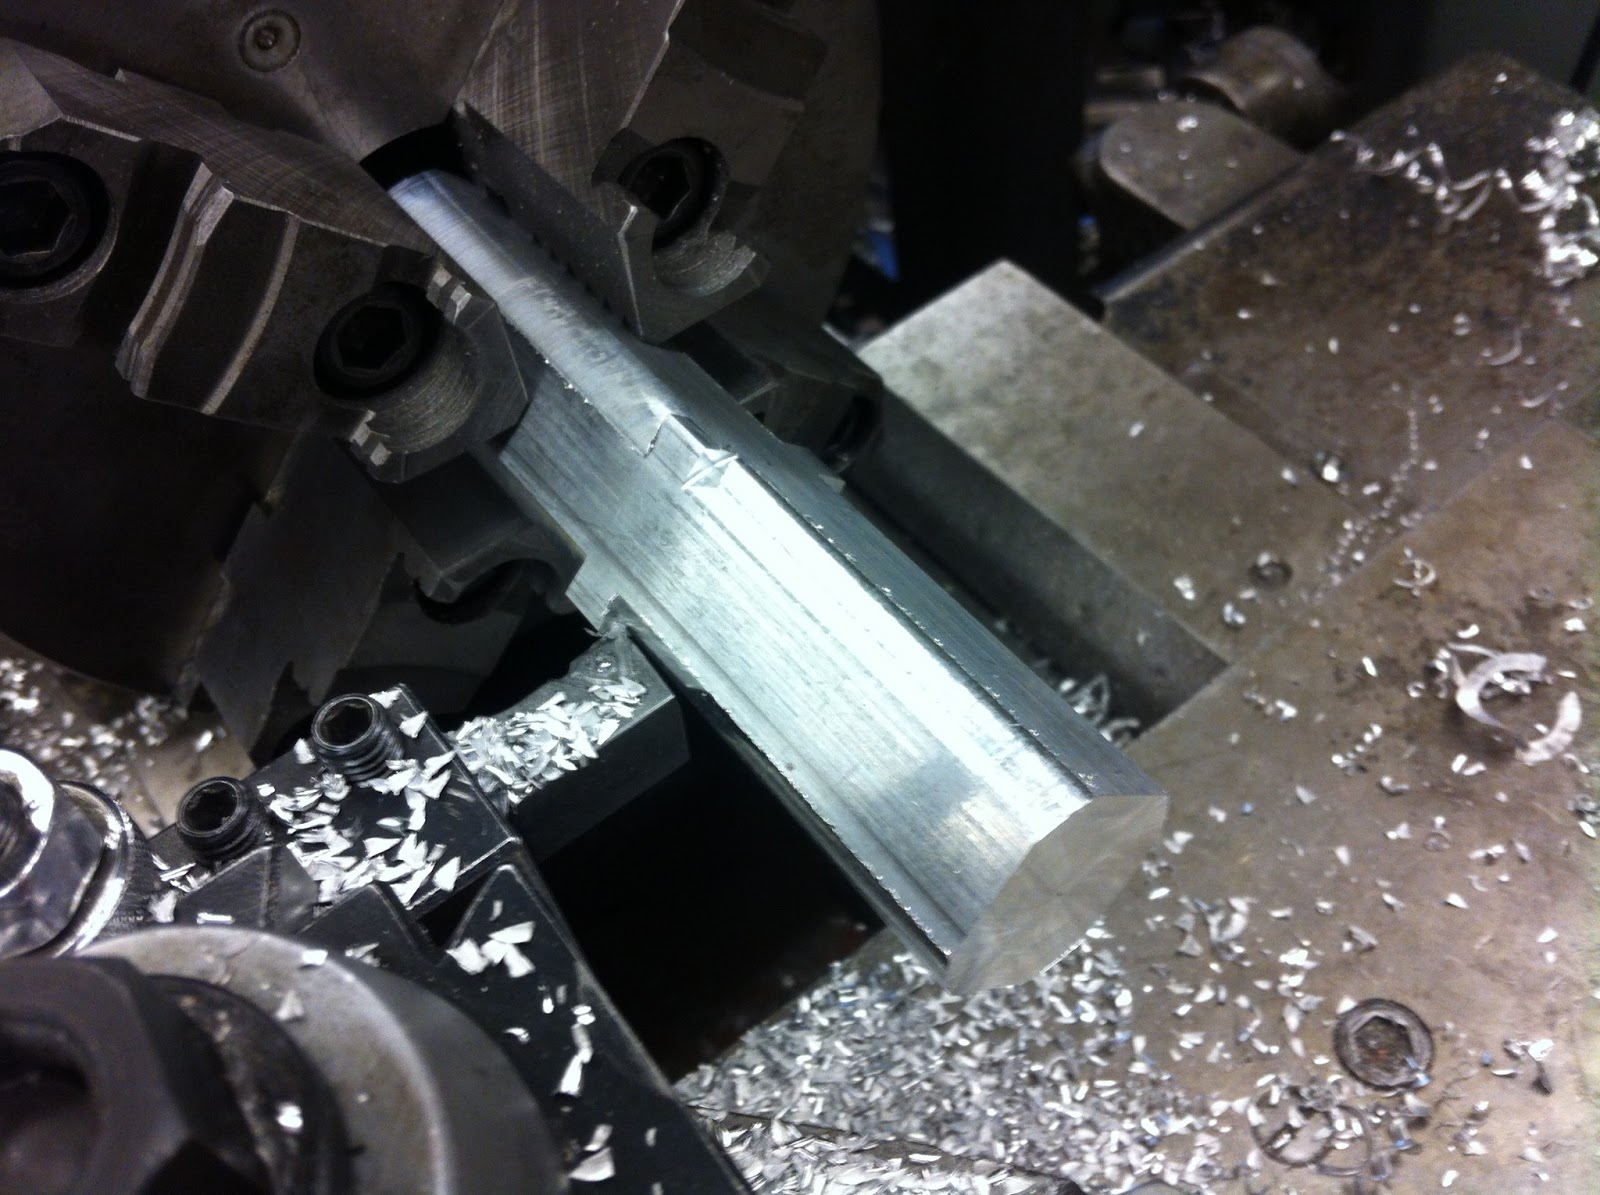
To make the axle that the camera rests on, I turned down a piece of square stock with a four-jaw-chuck to make both ends a quarter inch in diameter.


In order to be able to remove the axle without taking it completely apart, I included a shaft collar. It also prevents side-to-side motion.


I milled out the inside so a 1/4-20 nut and bolt could barely slide inside. The bolt screws into the bottom of the camera and can be adjusted through out the entire length of the axle. I also drilled and tapped a 1/4-20 hole in the base so it could be screwed on top of a tripod.
With a mostly complete time-lapse platform, I took off to Alaska. Once there, I finished the connecting the steppers to the axles in our shop using scrap VCR/TV components and gears and chain left over from FTC.


The mechanism for playing VCRs is really cool, and has a bunch of tiny gears, pulleys, and belts. I crufted a few of the pulleys for the camera gantry.

I also re-purposed the push buttons for my custom motor controller board to enable manual control of the gantry.


I plan on replacing the VCR belts and FTC chain with timing belts when I use this in Boston.
Next, I need to build the controller board and program it to track the sun.
I found your blog when I was looking for a different sort of information but
ReplyDeleteI am very happy and glad to read your blog. Thanks for sharing.
i have a good website about welding safety
aged care cleaning brisbane